The Best Insulation for Existing Homes
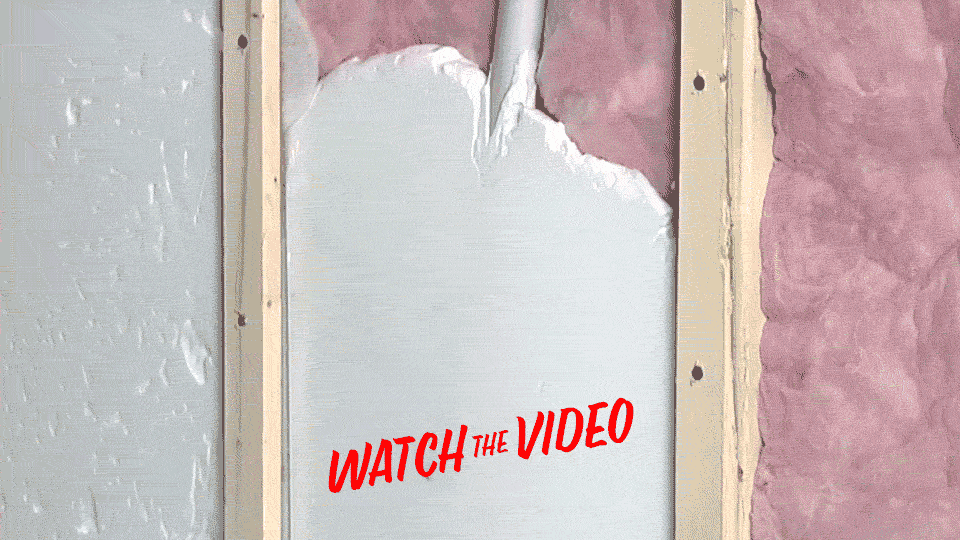
We help property owners add comfort and save on monthly energy bills:
Key information about your estimate:
We help property owners add comfort and save on monthly energy bills:
Key information about your estimate:
Many homes are just uncomfortable.
We hear stories from homeowners who...
The good news is that it doesn't have to be this way.
Now is the time to transform your home with RetroFoam.
Most comfort and energy efficiency issues in the home are caused by poor insulation in your exterior walls.
This inadequate wall insulation allows the outside temperatures inside your home. Not good.
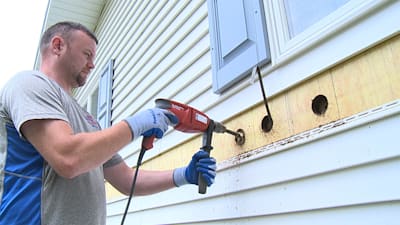
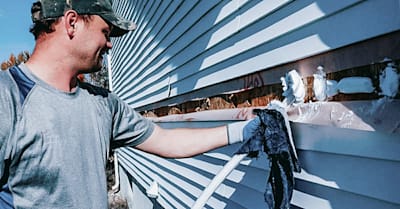
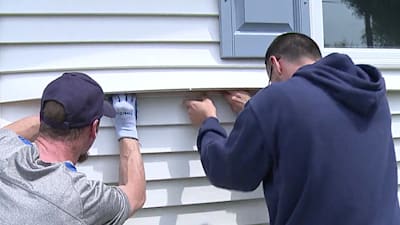
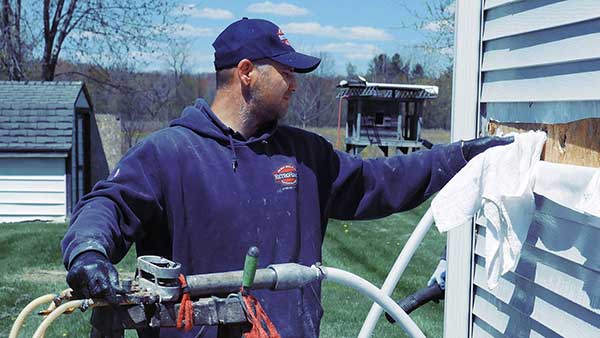
Local homeowners are turning to RetroFoam injection foam insulation to stop that air movement into and out of your home. It's safe and can be conveniently installed from the outside with little intrusion to your home, on a variety of siding types.
The results? A more comfortable and energy-efficient home your family will love.
RetroFoam seals up your exterior walls to stop those annoying drafts from getting inside your home while keeping a level indoor temperature.
When your furnace or air conditioner isn't running 24/7 RetroFoam can lower your monthly energy bills up to 50 percent.
An added bonus of RetroFoam insulation is that it can reduce the outdoor noise in your home to give you a quieter space.
Ann M.
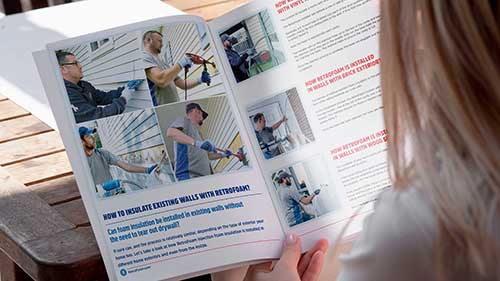
The installation process for existing walls can vary depending on your home's exterior.
See what a typical install looks like with vinyl or aluminum siding.
Remove Siding
Drill in Each Cavity
Inject RetroFoam
Replace Siding & Cleanup
The first step of the injection foam insulation installation process is to remove a row of siding from around the home.
This is done to give the installer access to the sheathing underneath.
Once the siding has been removed, the installer will drill a hole into each stud cavity.
They will use a tool and run it up and down, then side to side to feel for any obstructions in the wall.
Now that the holes have been drilled, the installer will run the hose up to the top of the cavity and begin injecting the foam.
Once they hit the middle of the cavity, they will run the hose from the bottom up. This method ensures the cavity is completely filled with foam.
After the foam has been injected into each stud cavity, the drilled holes are plugged, and the siding is replaced.
The installer and their crew will then clean up any siding that has foam on it and clean up the area around the install.