The Best Insulation for Existing Homes
The Best Insulation for Existing Homes
Here in this guide, you will find answers to all of your questions regarding RetroFoam injection foam insulation for your existing walls. We’ll cover the signs it’s time to update your exterior wall insulation, the pros and cons of RetroFoam, what factors determine the cost, and a whole lot more.
This guide was created with you, the homeowner, in mind to answer all of your questions. So, sit back and enjoy the ride while we break down everything you need to know about RetroFoam insulation.
You could be experiencing several issues in your home due to little or no insulation in your exterior walls, and some of them you may not even realize are connected.
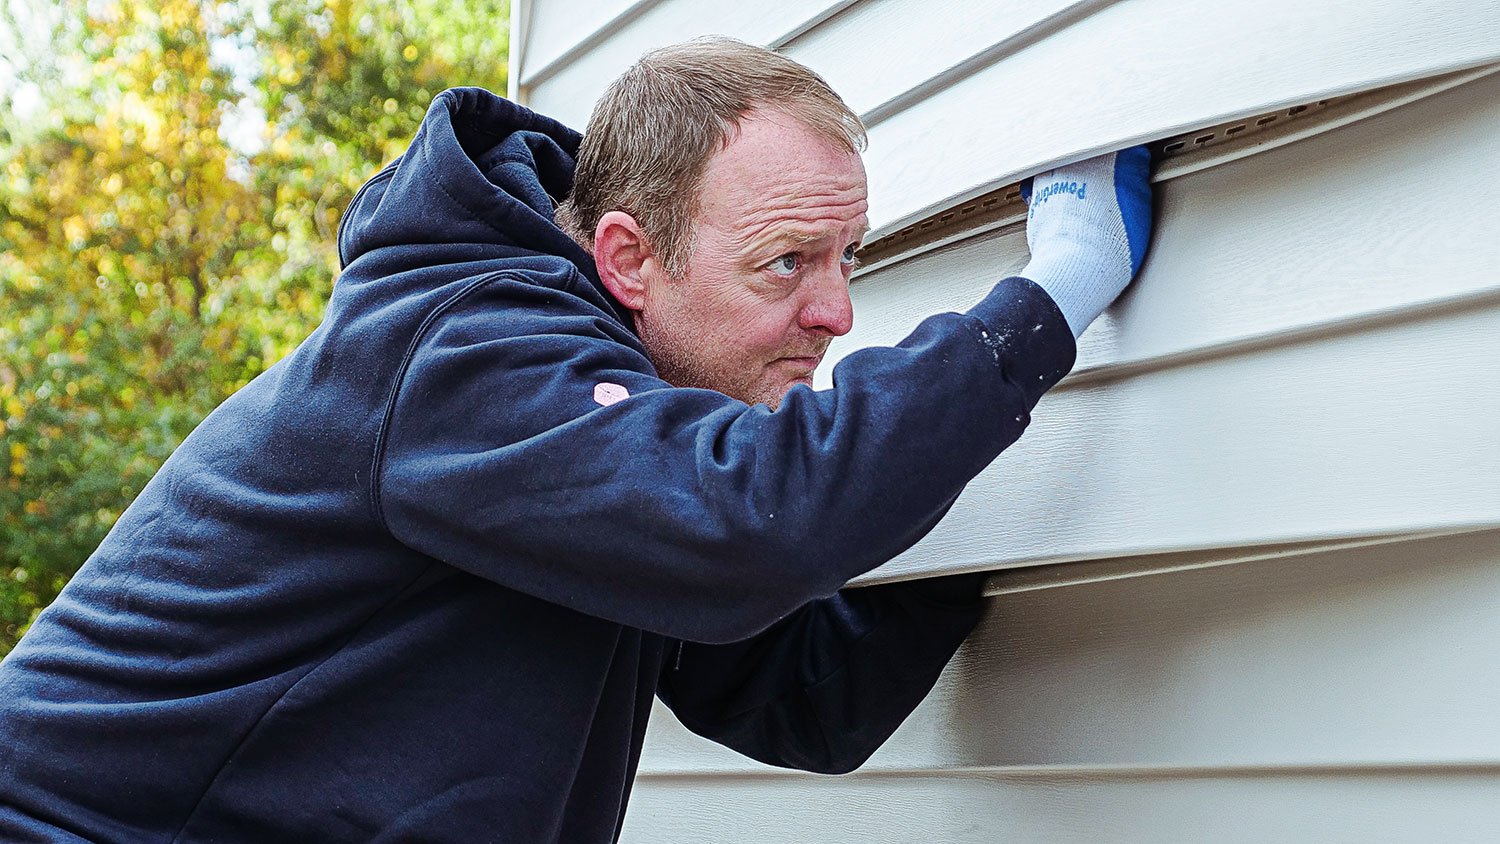
It might be hard to tell whether your walls have any insulation at all, but a quick look behind an outlet cover or light switch can at least give you an idea of what you’re working with.
The non-visual signs you need to update your existing wall insulation can be very annoying, especially if you’re dealing with comfort and even health issues related to it.
Let’s dive right into these issues and talk about how RetroFoam insulation can help.
If you are experiencing any of the above issues, it’s time to update the insulation in your exterior walls.
Adding RetroFoam injection foam insulation to your existing walls can address and fix the signs and symptoms we just talked about. The foam insulation does this because it creates an air seal that isn’t possible with traditional insulation.
This air seal works to make your home healthier, more comfortable, and energy-efficient.
But now you’re probably wondering, “what is RetroFoam?” Keep reading. We’ve got the answers.
RetroFoam is an injection foam insulation that is used for existing exterior walls and concrete block walls.
Injection foam insulation, like RetroFoam, is best suited for enclosed wall cavities and can be installed from the outside, so there is no need to tear down your drywall.
RetroFoam insulation is Class One Fire Rated, which means if there were a fire in your home, it doesn’t act as a catalyst. Once the flame is removed, the foam will self-extinguish.
RetroFoam also doesn’t off-gas, is environmentally friendly, and is safe to have in your home.
In your research, you might have noticed some contractors using the phrase “spray foam insulation in existing walls” to describe injection foam. We will dive deeper into the difference between the two in just a little bit.
RetroFoam is a tripolymer based resin that creates odor-free, non-toxic foam insulation.
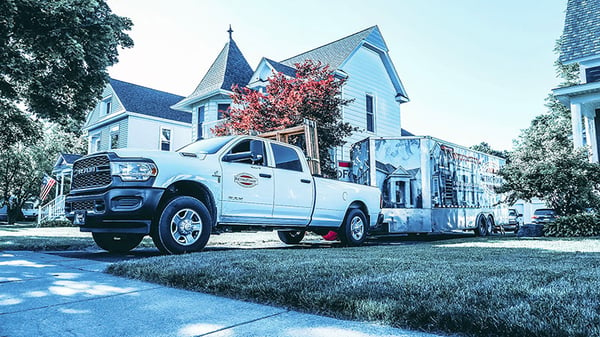
This resin is mixed with water and a foaming agent in the RetroFoam installer’s trailer. Once it’s mixed, the final product looks a lot like shaving cream and even has the same consistency.
It’s that shaving cream consistency that helps RetroFoam insulation completely fill the cavity, getting into all of the nooks and crannies, as well as spreading around wires and pipes in the wall.
RetroFoam is absolutely safe to have in your home.
RetroFoam insulation doesn’t off-gas, is Class One Fire Rated, and is environmentally friendly.
There is a lot of misinformation about foam insulation and whether it’s safe, so let’s clear that up to ease any concerns you might have.
Off-gassing is more of a concern when it comes to spray foam insulation.
That off-gassing, or volatile organic compounds, are little bits that are expelled when the foam is sprayed. Hairspray, body spray, and even your dry cleaning technically off-gas.
Injection foam insulation, more specifically RetroFoam, doesn’t have any off-gassing at all.
RetroFoam home insulation is Class One Fire Rated, which means it doesn’t act as a catalyst if there were a fire in your home.
Once the fire is extinguished or the flame is removed, RetroFoam will self-extinguish.
Let’s talk a little bit more about what that fire rating means.
The fire rating system for insulation is basically how long the material can withstand a standard fire resistance test.
A Class One Fire Rating really means the flame spread and smoke development index, or how fast the flame will spread in the insulation and how much smoke it produces.
To get this Class One Fire Rating, the insulation must have a smoke development of less than 450 and a flame spread index of 25 or less.

The word formaldehyde can be very scary, especially when it comes to your home.
Tobacco smoke, cosmetics, lotions, shampoo, conditioner, shower gel, keratin hair smoothing treatments, and some fingernail polish all contain some level of formaldehyde, according to the American Cancer Society.
Other things that have trace amounts of formaldehyde are crafters glue, caulk, drywall adhesive, some insulation boards, and some liquid detergents, according to the U.S. Department of Health and Human Services.
Now that you know about all the things with formaldehyde in them, let’s talk about that RetroFoam formaldehyde content.
RetroFoam injection foam insulation has a trace amount of formaldehyde present in the dry product at 0.06 parts per million, but it bonds to the material when it is mixed in the installer’s truck. This means the finished RetroFoam product in your walls is classified as formaldehyde-free because it can't escape that bonding.

RetroFoam injection foam is an energy-efficient insulation that creates an air seal in enclosed cavities.
Unlike traditional insulation, RetroFoam never loses its shape, and it won’t settle, compress, shift, or sag as time goes on.
The insulation you have in your walls should help your home maintain a constant temperature without putting an unnecessary strain on your AC unit and furnace. This is why the air seal created by RetroFoam makes it an energy-efficient foam insulation that works to lower your heating and cooling costs.
When energy-efficient wall insulation does its job, it affects the conduction (heat transfer) and the convection (airflow), which are huge factors in your home’s performance. The air seal created by RetroFoam insulation reduces air leakage and also provides heat resistance.
We’ve told you about all of the pros of RetroFoam insulation, but it wouldn’t be very transparent if we didn’t talk about the cons as well.

In being transparent, here is a full look at the good and potentially not-so-good pros and cons of RetroFoam insulation.
Sometimes it just isn’t meant to be, and we get it.
There are several reasons why RetroFoam insulation might not be a good fit for you.
Some homeowners run into some confusion when researching home insulation because there are contractors who use spray foam and injection foam interchangeably.
While the two create an air seal and make homes more energy-efficient and comfortable, there are some differences. The biggest difference between spray foam insulation and injection foam insulation is really how they are installed and where.
The home’s exterior can change the installation process, but we’ll get more into that in a few minutes.
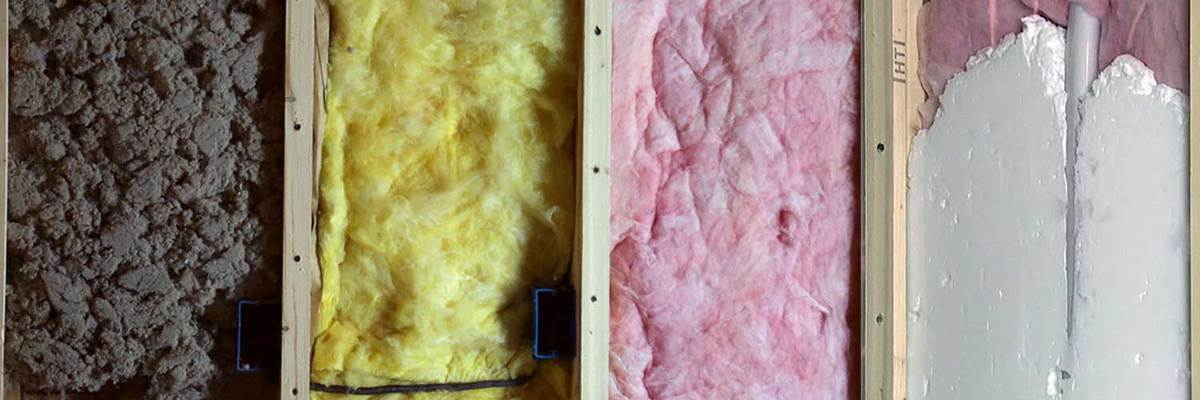
Another thing to note for injection foam is that the old fiberglass in the walls doesn’t need to be removed. If there is cellulose, the installer will try to remove as much of it as possible before injecting the foam. This is done because cellulose won’t compress in the wall cavity the way that fiberglass does, so in some instances, it can act as a barrier in the wall, so the foam doesn’t completely fill it.
Before the spray foam can be applied, all of the old insulation in the space must first be removed. This is because the spray foam needs a clean surface to adhere to.
Another measure the installers take before the spray foam is applied is to prep the area. This means any furniture or other items should be moved out of the area or to the room’s center. The installer will then cover everything in plastic, including the floors and surfaces like countertops or railings. This is done to ensure spray foam doesn’t get on anything.
These are the ways spray foam and injection foam are different, but they are similar in the ways that count the most for your home. Both materials create an air seal that helps you seal your building envelope from the top to the bottom.
This air seal will work to create the home you’ve always wanted -- one that is energy efficient and comfortable.
Now it’s time to go more in-depth about how RetroFoam injection foam insulation is installed in existing walls without the need for a total remodel.
See How RetroFoam is Installed with Vinyl and Aluminum Siding
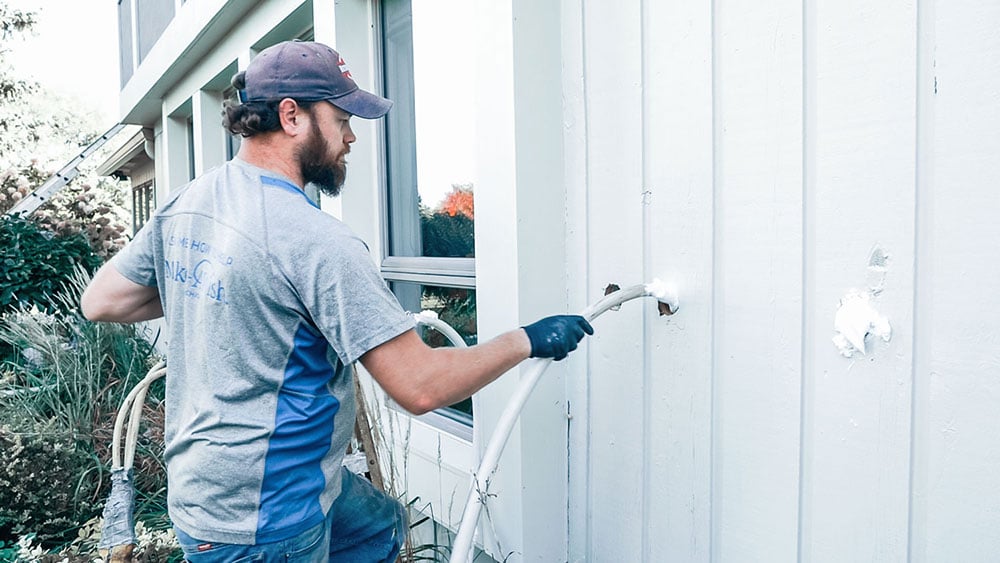
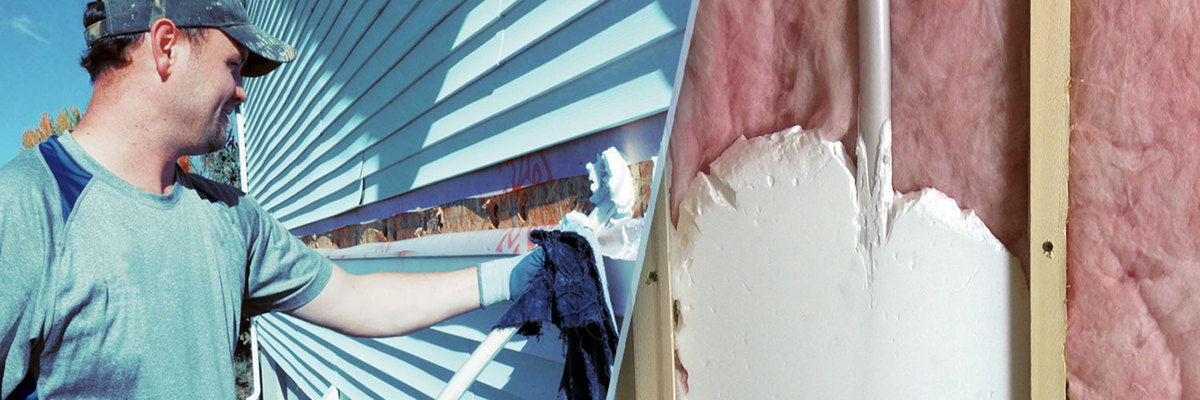
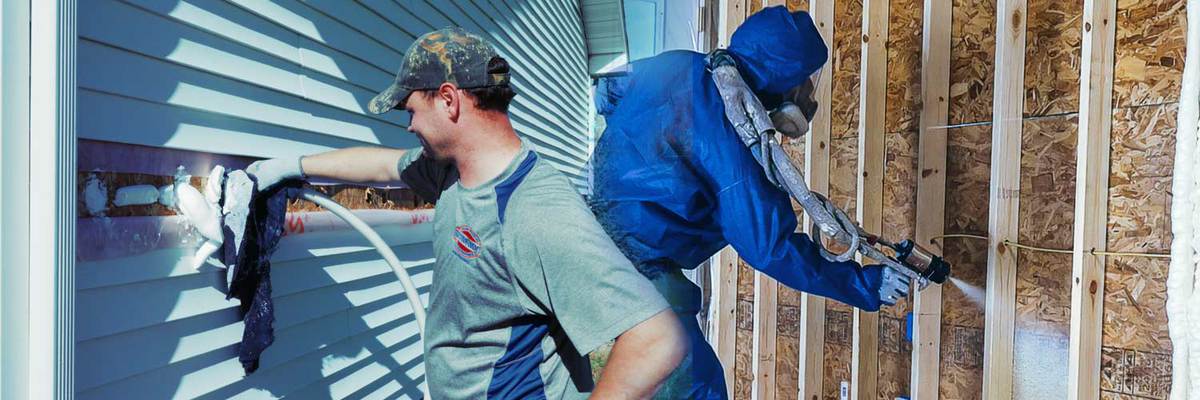
The process to insulate a home with vinyl or aluminum siding is the same.
The RetroFoam installer will remove a row of siding around the entire home.
Generally, a 2 ½-inch hole is drilled into each of the stud cavities, and the installer checks for any obstructions in the wall. If they find one, another hole is drilled above it.
Next, the foam is injected into each cavity.
The installer will run the injection hose up to the top of the cavity and begin the injection. Once they get to the middle, they run the hose from the bottom up, injecting the foam. This method helps to ensure the cavity is full.
Once the injection process is complete, the holes are plugged, and the siding is replaced.
See How RetroFoam is Installed with Vinyl and Aluminum Siding
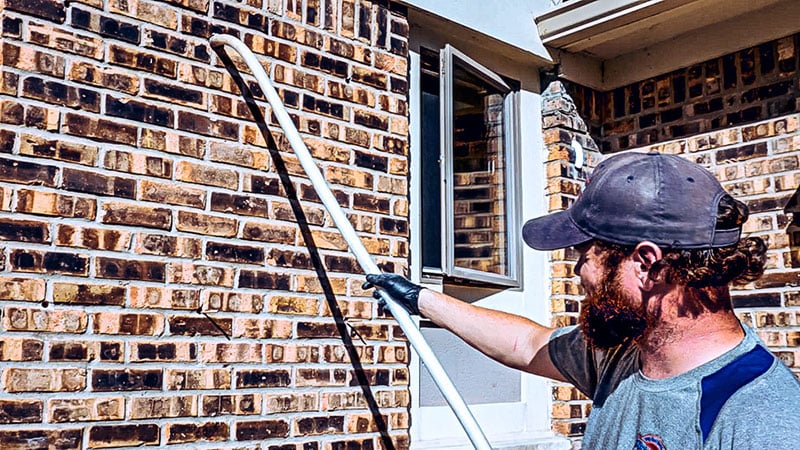
See How RetroFoam is Installed with a Brick Exterior
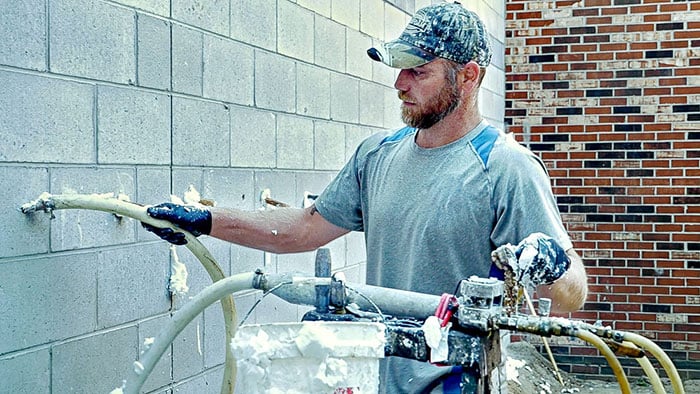
The process of adding injection foam insulation to the brick exterior is different from other siding materials we work with.
In this installation process, the RetroFoam installer will drill three ⅝-inch holes into the mortar -- one at the top of the cavity, one in the middle, and one at the bottom. This method ensures the foam is injected into each cavity while completely filling it.
Once the foam has been injected, the holes are filled with mortar.
See How RetroFoam is Installed with a Brick Exterior
See How RetroFoam is Installed with Wood Siding
The condition of your wood siding will determine how the installation of the RetroFoam will be done.
If the wood siding is in good condition, it can be removed, and the holes will be drilled into the sheathing underneath. Once the installation is finished, the holes are plugged, and the wood siding is replaced, much like aluminum and vinyl.
If the wood is brittle, there is a chance it could break, so it makes more sense to just drill through it. In this case, 2 ½-inch holes are drilled into the wood siding, and the foam is injected into each cavity.
Once the foam has been injected, the holes are filled with wooden plugs.
See How RetroFoam is Installed with Wood Siding
See How RetroFoam is Installed in Block Walls
The installation process for concrete block walls requires drilling holes into the middle of the wall to access the cores of the blocks.
The bricks’ cores are lined up, so injecting the foam is a breeze once the holes are drilled into the core. The foam will fill all of the cores and any other gaps where air can move through.
Once the cores of the bricks have been filled, the drilled holes are filled with mortar.
See How RetroFoam is Installed in Block Walls
See How RetroFoam is Installed with Stucco
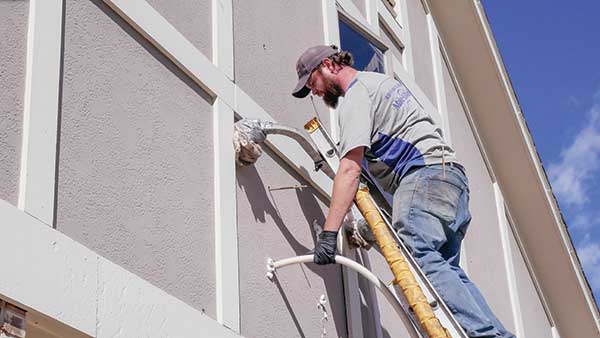
When insulating homes with stucco siding, three ⅝-inch holes are drilled into each wall cavity. One at the top, one in the middle, and one at the bottom.
Much like the process for brick exterior, this method ensures that the foam fills each and every cavity.
After the foam has been injected, the holes are filled with mortar.
See How RetroFoam is Installed with Stucco
See How RetroFoam is Installed from the Inside
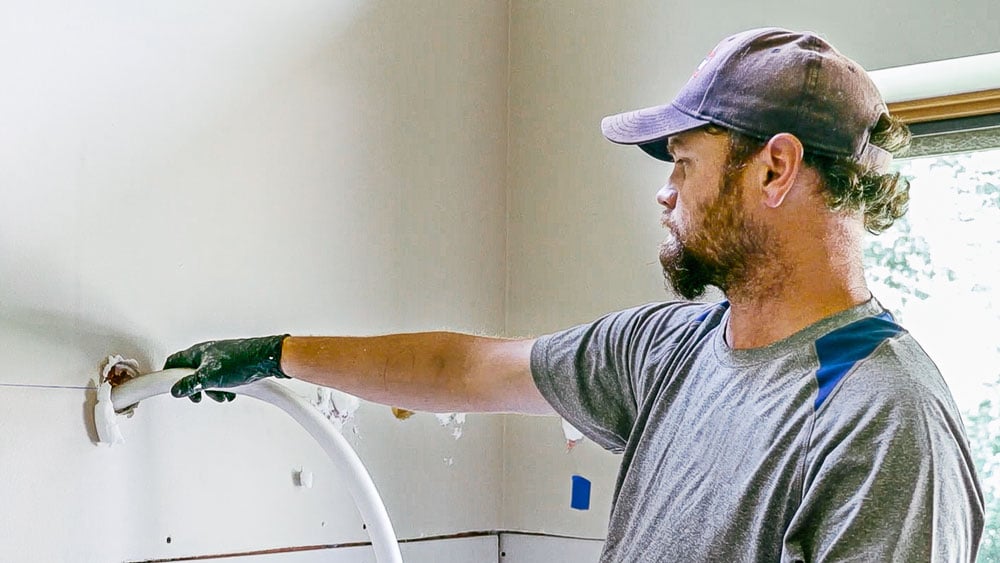
When installing RetroFoam from the inside, the prep is essential as you don’t want to end up with drywall dust all over your home.
Your RetroFoam installer will make sure all of the surfaces and items in the area of the home where the foam will be installed are covered in plastic.
Once all of the prep work is done and everything is covered in plastic, the installer will make a chalk line on the walls and then drill the holes centered on that line.
Much like an exterior installation, the installer runs the injection hose from the top of the cavity down and then from the bottom up.
Once the foam has been installed, the holes are plugged, and a rough patch of drywall mud is applied.
See How RetroFoam is Installed from the Inside
There are RetroFoam dealers across the country, and each of those dealers set their own pricing.
While each dealer sets their own cost, several factors are universal in determining the final price tag.
The good thing about creating an air seal in your exterior walls is that it is going to make your home more energy-efficient.
There are actually some financial benefits to making energy-efficient home improvements.
At times, tax credits are available for making these kinds of improvements to your home. Talk with your tax provider to see what may be available.
Another avenue comes in the form of rebates. Some energy providers offer rebates to customers who make performance improvements to their homes.
These tax credits and rebates vary in the amount you could be eligible for, so make sure you talk to your project manager about what might be available to you.
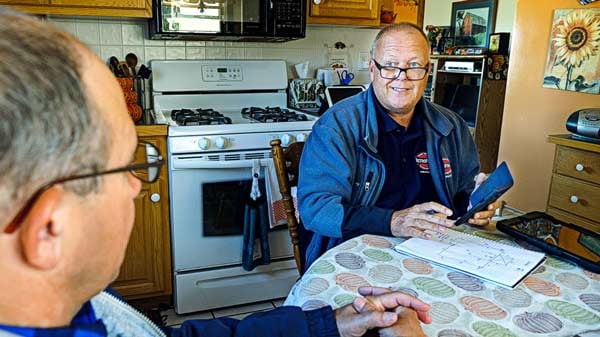
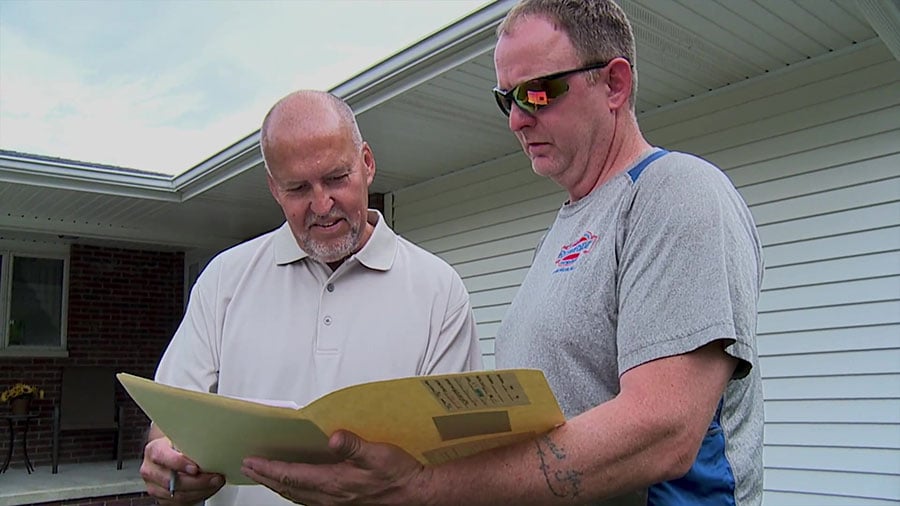
You’ve already contacted your RetroFoam dealer, and a project manager is coming out to give you a quote.
The project manager is going to come to your home and discuss the issues you’re experiencing. They will measure your exterior walls and figure out what kind of insulation, if any, already exists in there.
While taking measurements, the project manager will also take note of the kind of exterior your home has and any challenges there could be regarding the installation.
Next, the project manager will come in and go over their notes with you. At this point, they will give you the concrete cost of your project. They will discuss with you the installation process and everything you can expect on the day of the installation.
The only thing left to do after this is getting your job on the calendar.
Hopefully, these tips have answered all your questions about RetroFoam insulation for your existing walls.
If you’d like to take a deeper dive, the Learning Center has a ton of resources like videos and articles that you might find helpful.
If it looks like you might be a good fit for RetroFoam insulation, search our dealer directory to find a dealer in your area.
From there, you can request a quote and connect with your local RetroFoam dealer to come up with a plan for your specific project.
Love your home for the potential you always knew it had now that it is more comfortable and energy-efficient with RetroFoam.