

You’re as excited as a kid on Christmas morning, but instead of Santa Claus, it’s your RetroFoam installation day.
This is the day your home takes a big step toward being more comfortable and energy-efficient.
Before the crew arrives with the trucks and foam, there are a few simple steps you can take to ensure everything goes smoothly. Think of this as your RetroFoam install checklist.
Prepping the Inside of Your Home for RetroFoam Installation
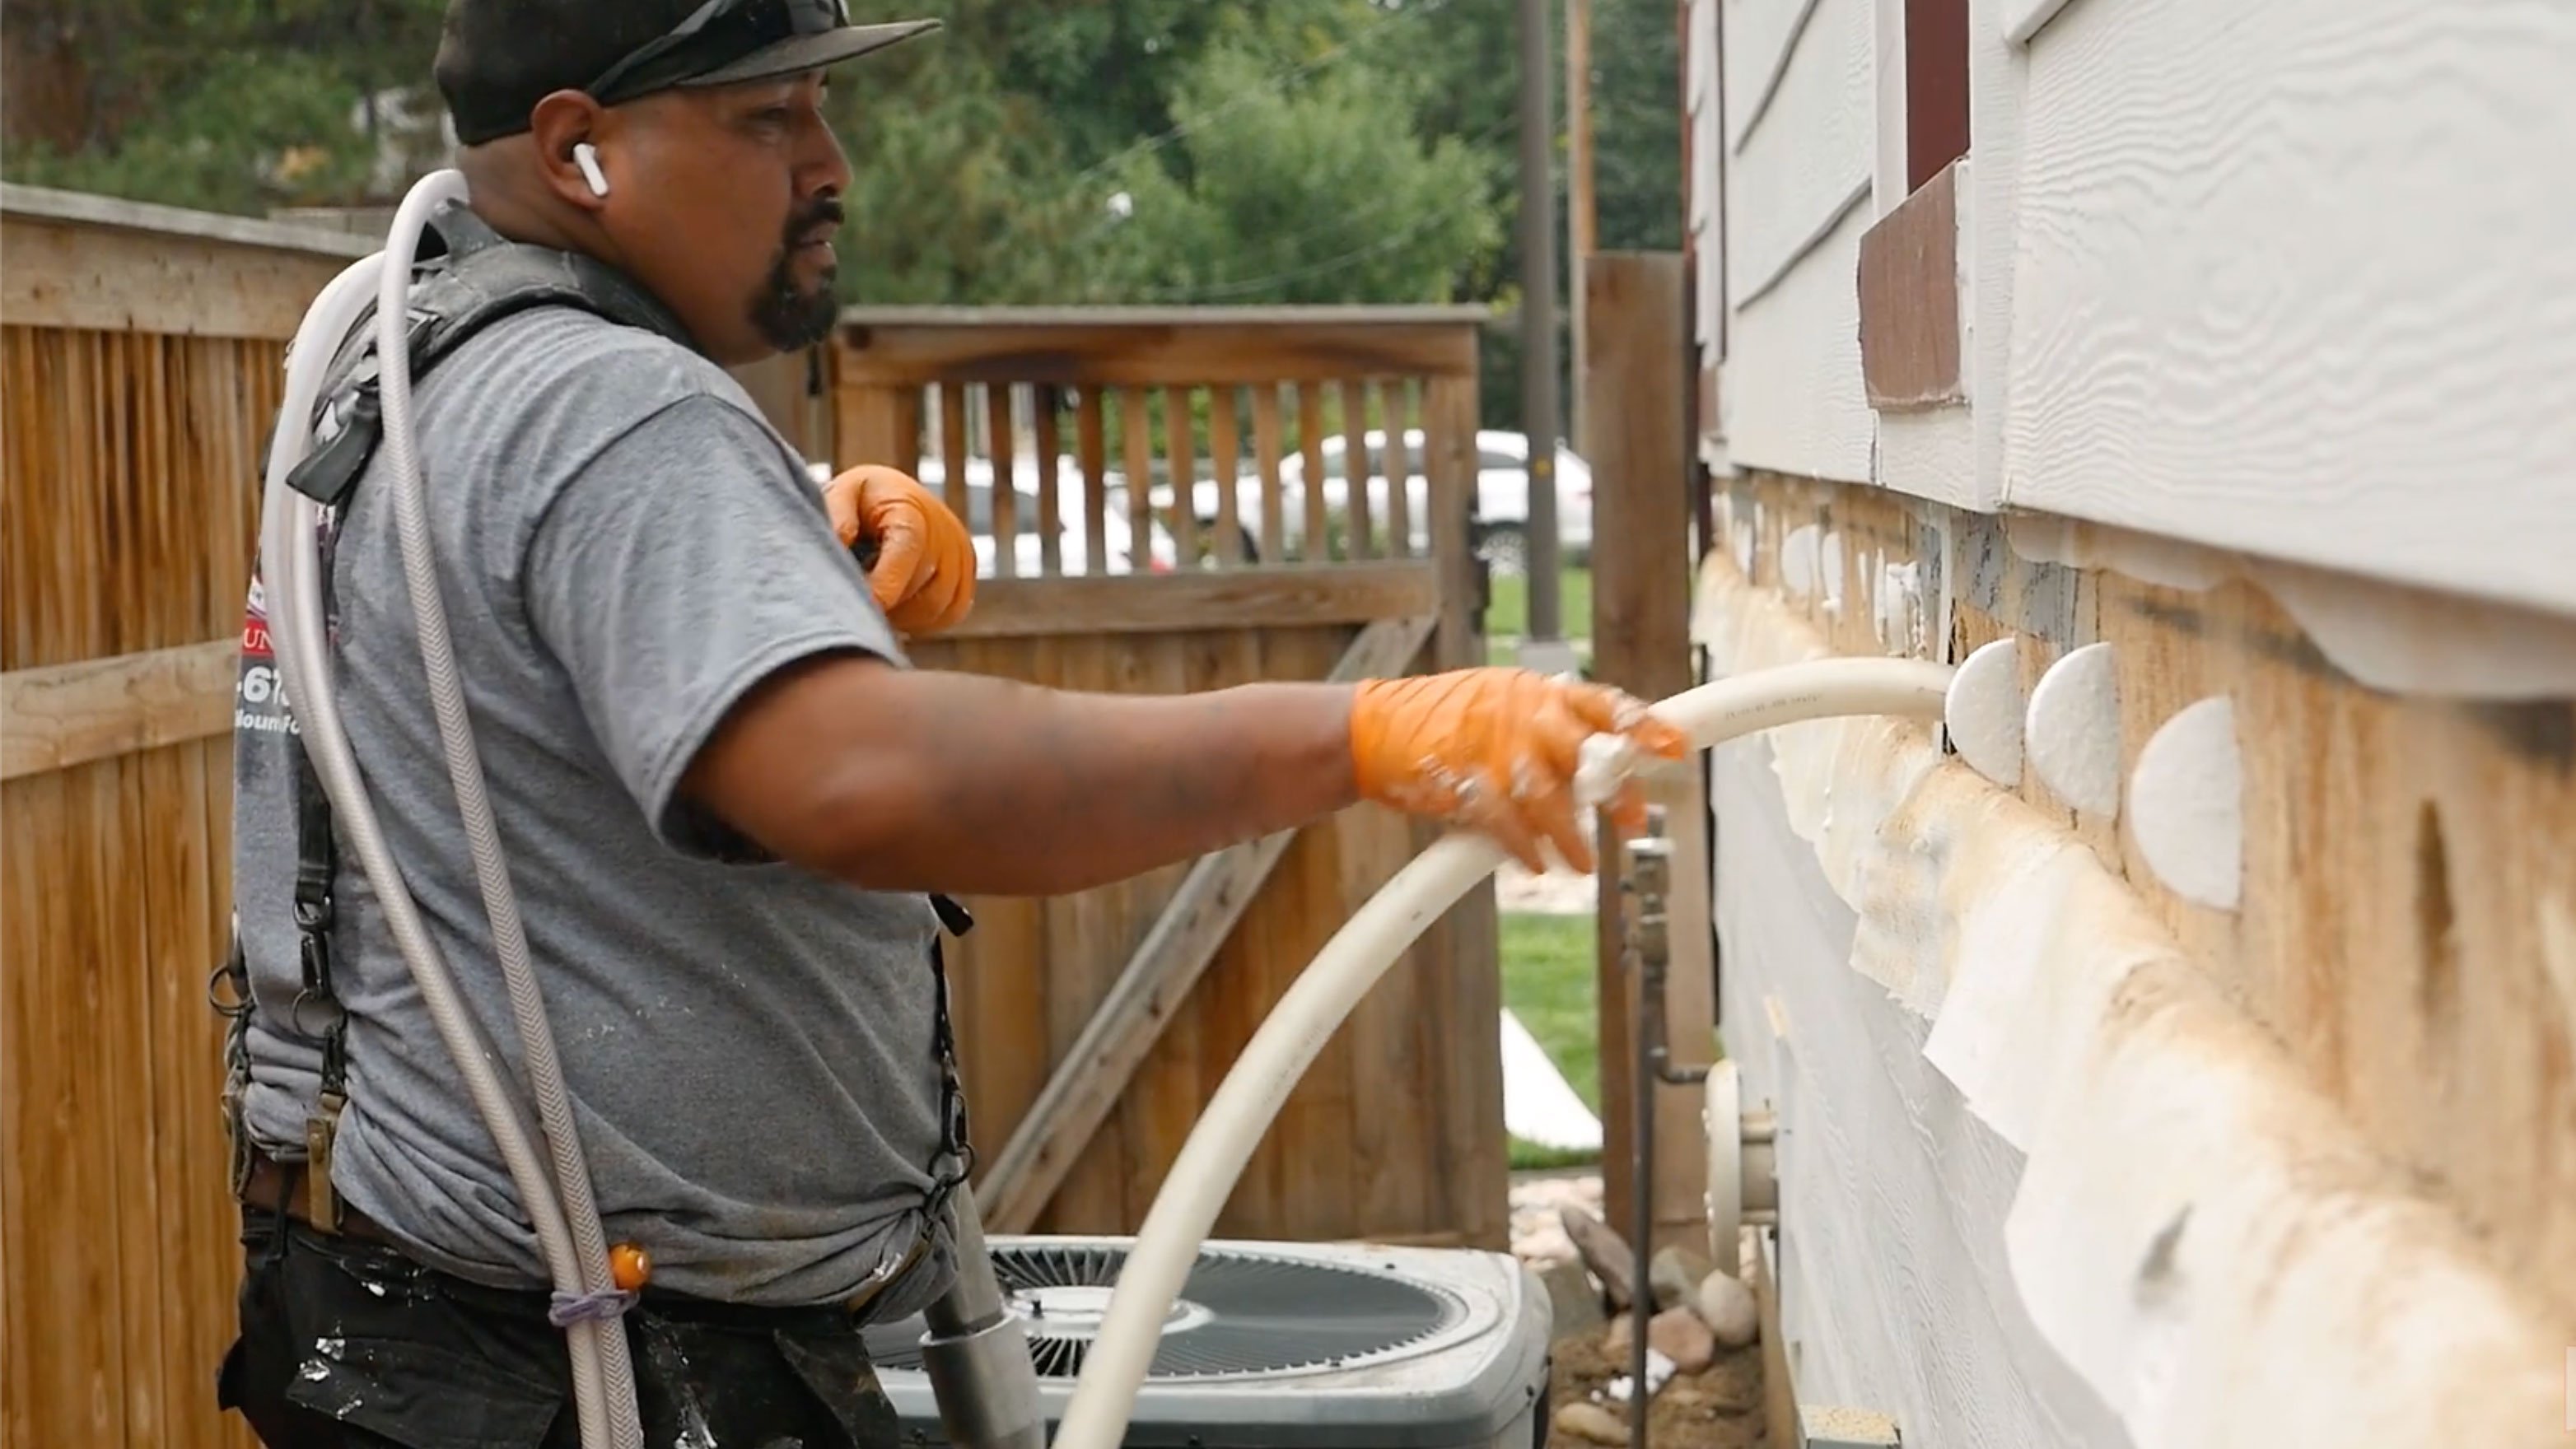
The RetroFoam injection foam installation process is quick and efficient, but it does involve some vibrations in the walls.
That’s why it’s a good idea to prep inside your home first.
Remove Wall and Shelf Items
Anything hanging on your walls, like photos, mirrors, or artwork, should come down.
Even items on nearby shelves can be affected by vibrations during the RetroFoam install process, so move those too.
Pro tip: Move fragile items away from walls and toward the center of the room for extra peace of mind.
Keep Pets Safe
Dogs, cats, or any curious critters should be moved to another room or a secure area.
Taking this action will keep your pets safe, calm, and out of the way of the installation crew.
Prepare Your HVAC System
In some cases, the installation crew may ask you to temporarily turn off your HVAC system so dust doesn’t circulate through your home.
This small step helps keep your air clean and the RetroFoam installation process moving smoothly.
Prepping Outside of Your Home for the RetroFoam Installation Process
The outside of your home deserves some attention, too.
Here are a few ways to make sure your RetroFoam home insulation project doesn’t bump into any avoidable obstacles.
Protect Your Landscaping
If you have flower beds, bushes, or even a rose garden hugging the exterior walls, trim them back if possible.
If not, cover them up for protection. A quick conversation with your installer can help make sure your plants and landscaping stay safe.
Clear Outdoor Furniture and Toys
Anything placed against the house, such as patio furniture, grills, or kids’ toys, should be moved away to give the crew room to work.
Unlock Gates
If the crew needs to access your backyard through a gate or fence, be sure it’s unlocked on install day.
This simple step saves time and keeps the RetroFoam installation process seamless.
Pick Up Pet Waste
If your yard doubles as your dog’s restroom, take a few minutes to clean up.
It’s a courtesy to the crew and helps prevent any messy accidents.
Bonus RetroFoam Install Prep Tips
These little things can make a big difference:
- Allergies or asthma? Let your contractor know. They can often make adjustments during the install process to keep your home’s air as healthy as possible.
- Pest problems? If you know you’ve got bats, bees, or other critters in your walls, take care of that before your installation begins. Nothing halts a project faster than surprise “guests.”
- Neighborly heads-up. If you live in a close neighborhood, let your neighbors know about your install date. Trucks, equipment, and some noise are all part of the installation process, and a little warning goes a long way.
Adding RetroFoam Insulation to Your Existing Walls
Following this checklist ensures your RetroFoam installation goes as smoothly as possible.
With just a little prep, your contractor can focus on what matters most – making your home more comfortable, energy-efficient, and sealed up for the long haul.
If you have more questions about RetroFoam insulation or would like to learn more about the installation process, visit our Learning Center. You’ll find tons of articles and videos designed to answer all of your questions.
Key Points:
- RetroFoam home insulation installation is smoothest when you prep your home in advance.
- Remove wall items and keep fragile belongings away from vibrations.
- Keep pets secure and consider turning off your HVAC during the process.
- Protect landscaping and move furniture or toys away from exterior walls.
- Unlock gates and clean up your yard for easy crew access.
- Address allergies, asthma, or pest concerns before the RetroFoam injection foam installation process begins.
- Give your neighbors a polite heads-up about installation day.
Related Articles
Adding Insulation to Exterior Walls: Installing RetroFoam with Different Siding Types
How to Prep for Spray Foam Insulation